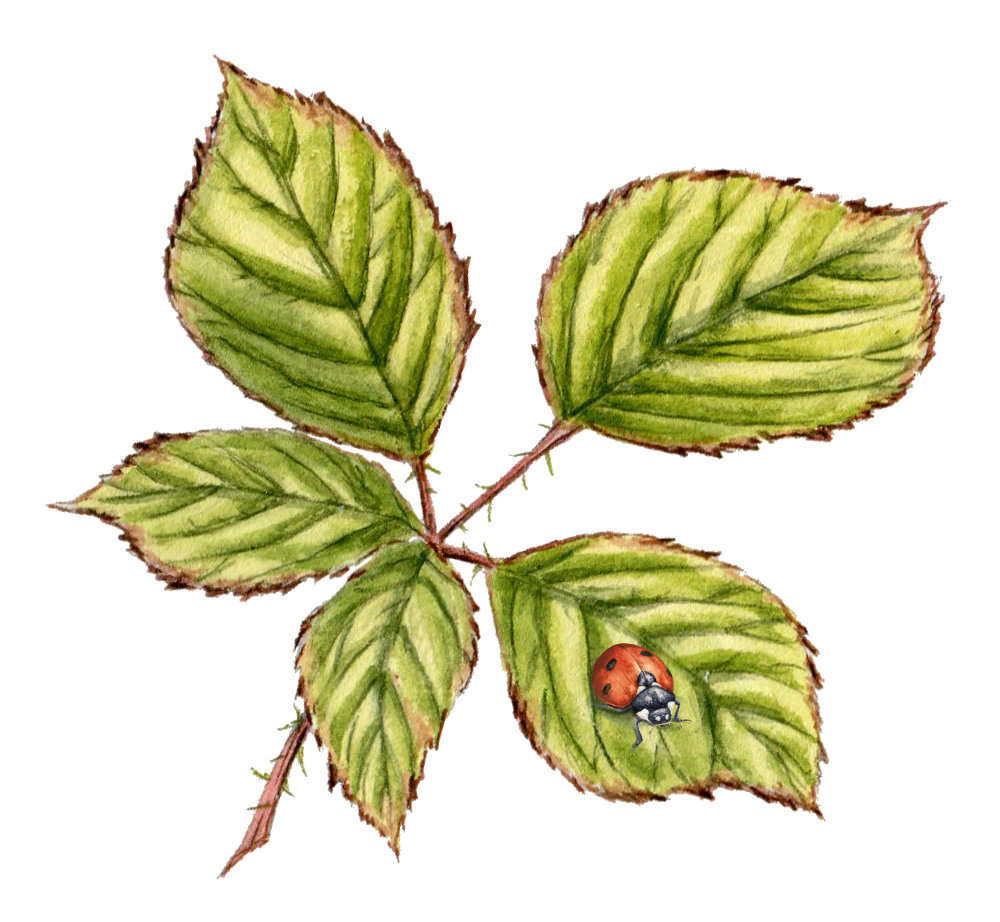
As a wildlife artist and illustrator I am always looking for new techniques and information to help expand my skills. YouTube is my second home these days. I love the wide variety of videos that feed my curiosity and I have picked up more than a little new information from some of them too. Even after more than 30 years of creating art I am always learning new things - and I love it.
As a result of seeing all that variety I thought I would share some of my own techniques for creating art. These are the steps I follow each time I produce a new piece. I like having a plan for painting. If I am not careful I can waste a huge amount of time deciding on one thing only to change my mind a little while later. Seeing my work flow may help someone else out there.
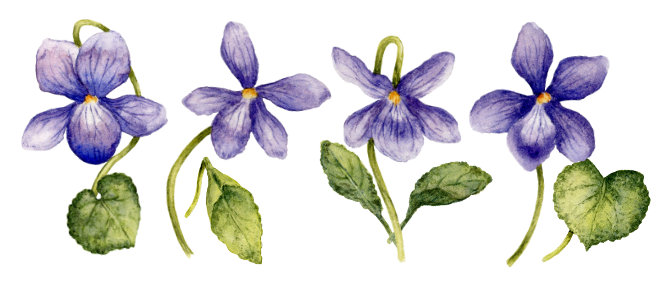
1. Decide on a subject
For me, this is the most difficult part. I tend to try and cover EVERY possibility and can be horribly indecisive if I do not keep it under control. However if I am carrying out a commission I already have the subject matter which takes a lot of the pressure off.
2. Find reference pics
The first job is to find reference photos. These days it is very easy to find references but you always have to take copyright into account. So I use sources that offer royalty and copyright free images, e.g. Wiki Commons, Unsplash and some Facebook groups where photos are freely shared and artists can use them to produce their own art. I also take a lot of photos myself and prefer to use them where I can.
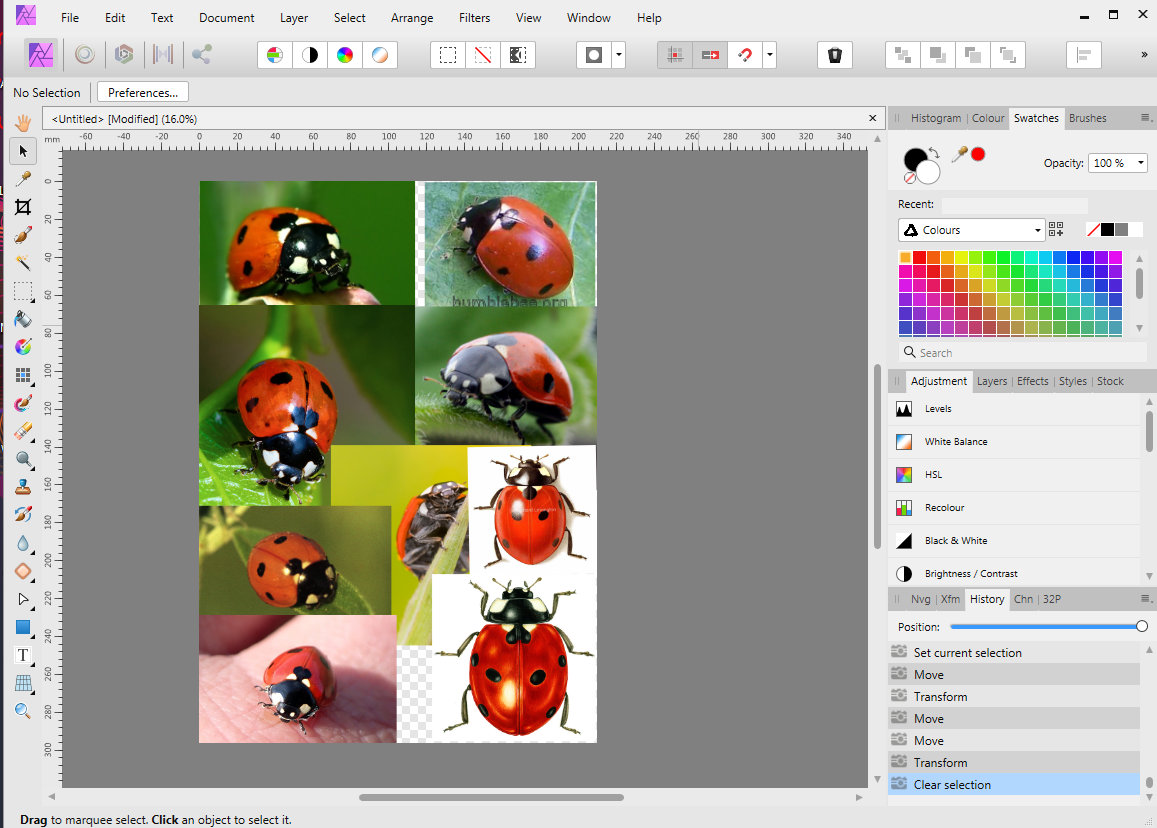
With the legal part safely tucked under my belt, I don't use one reference photo to copy. I collect a few clear images so I can see the details. Then I put them all on an A4 document on my computer screen so they are all grouped together. It does help if you have a little knowledge of the organism's biology/physiology but that can be helped with a little online study time or a good guidebook to whatever it is you are drawing. You can then create the correct shapes and position things like legs and eyes in right place. The aim of this step is to create your own image using all of the references to help shape it and this is where a sketchbook comes in handy.
3. Sketch
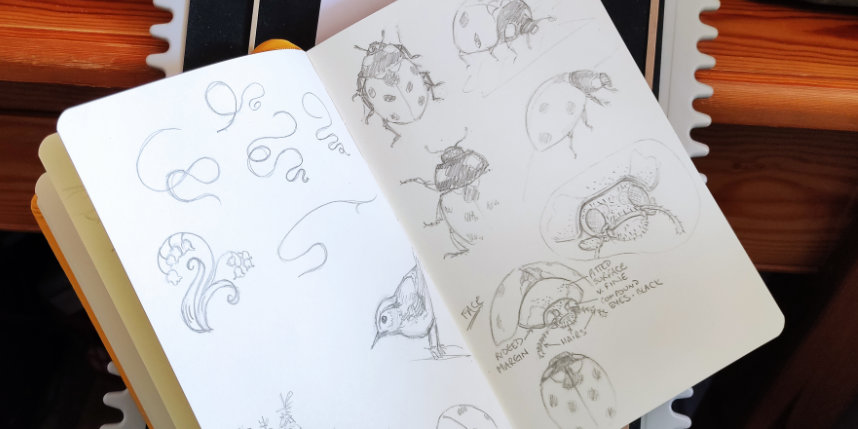
The next step is to use the sketchbook to form the shapes and elements that will make up the image. That includes any background landscape and natural elements like clumps of grass or fungi as well as the main object I am painting or drawing. I make lots of small images so that I can practice drawing the shapes and familiarise myself with the objects I am drawing.
Another use for the sketchbook is producing small thumbnail sketches of the illustration layout if the organism is to be set in a scene. Do I want the main character at the forefront of the image or in action? Do I want a full background or a vignette? The sketchbook is the place to practice and plan. This stage can take almost as long as the painting process. In my case it needs a lot of brain power.
4. Get it on paper
Once I have finalised the image and tweaked it the way I want it, I transfer the final image onto watercolour paper. Usually I will use tracing paper. I know! Shock! Horror! But throughout history artists and illustrators have used tools to produce their art and tracing paper is no different. It also allows for a second round of tweaking. If you are tracing the image and see something that isn't quite right it can be changed here instead of on the paper. Too many corrections on the paper will create smudges and scars on the surface that may show up in the finished work.
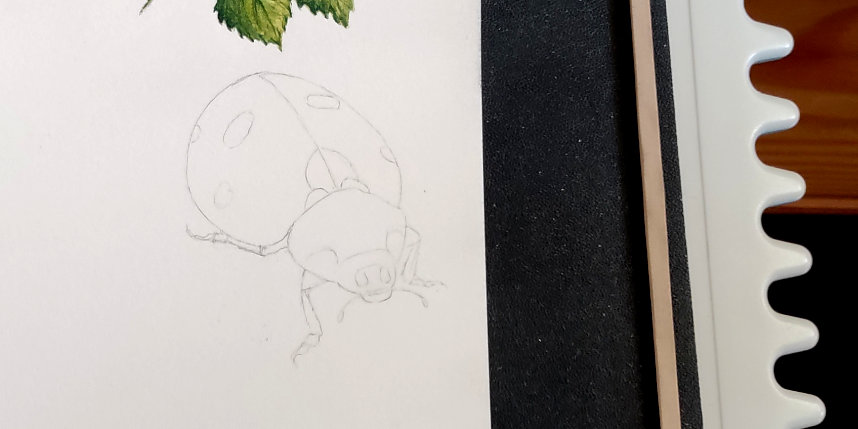
5. Start to paint
For years I followed the 'rule' that you should not put any more than three layers of paint on a watercolour painting. I feel it held me back from producing work that I would have been happier with. Some folk have a skill that allows them to splash a single layer of beautifully merged paint and form a stunning painting. I am not one of those people. As it happens there are many people out there who put more than three layers of paint down on a watercolour piece.
This is my recipe for success:
The 1st layer consists of light paint to mark out the colours (image 1 below). I have to remember and leave the lightest areas white, e.g. sheen on fur or the back of a beetle. The 2nd layer of paint covers the next darkest layers and light textures (image 2). The 3rd layer is darker textures if they are needed (image 3). Sometimes the 2nd layer covers all the texture you need but I sometimes find I need a 3rd layer to give some depth, especially when painting fur. The 4th layer consists of more obvious details and applying the darkest areas. The 6th layer adds any shading using a light touch and building up weak washes of watercolour paint (image 4).

6. Scanning
I use an Epson scanner to create my scanned images. Just pop the painting on the scanner bed and use Epson's own scanning app to produce the image. I'm currently scanning at 600 dpi because it makes removing the background of each image much easier if I need to do it. Once the image has been scanned it's on to editing.
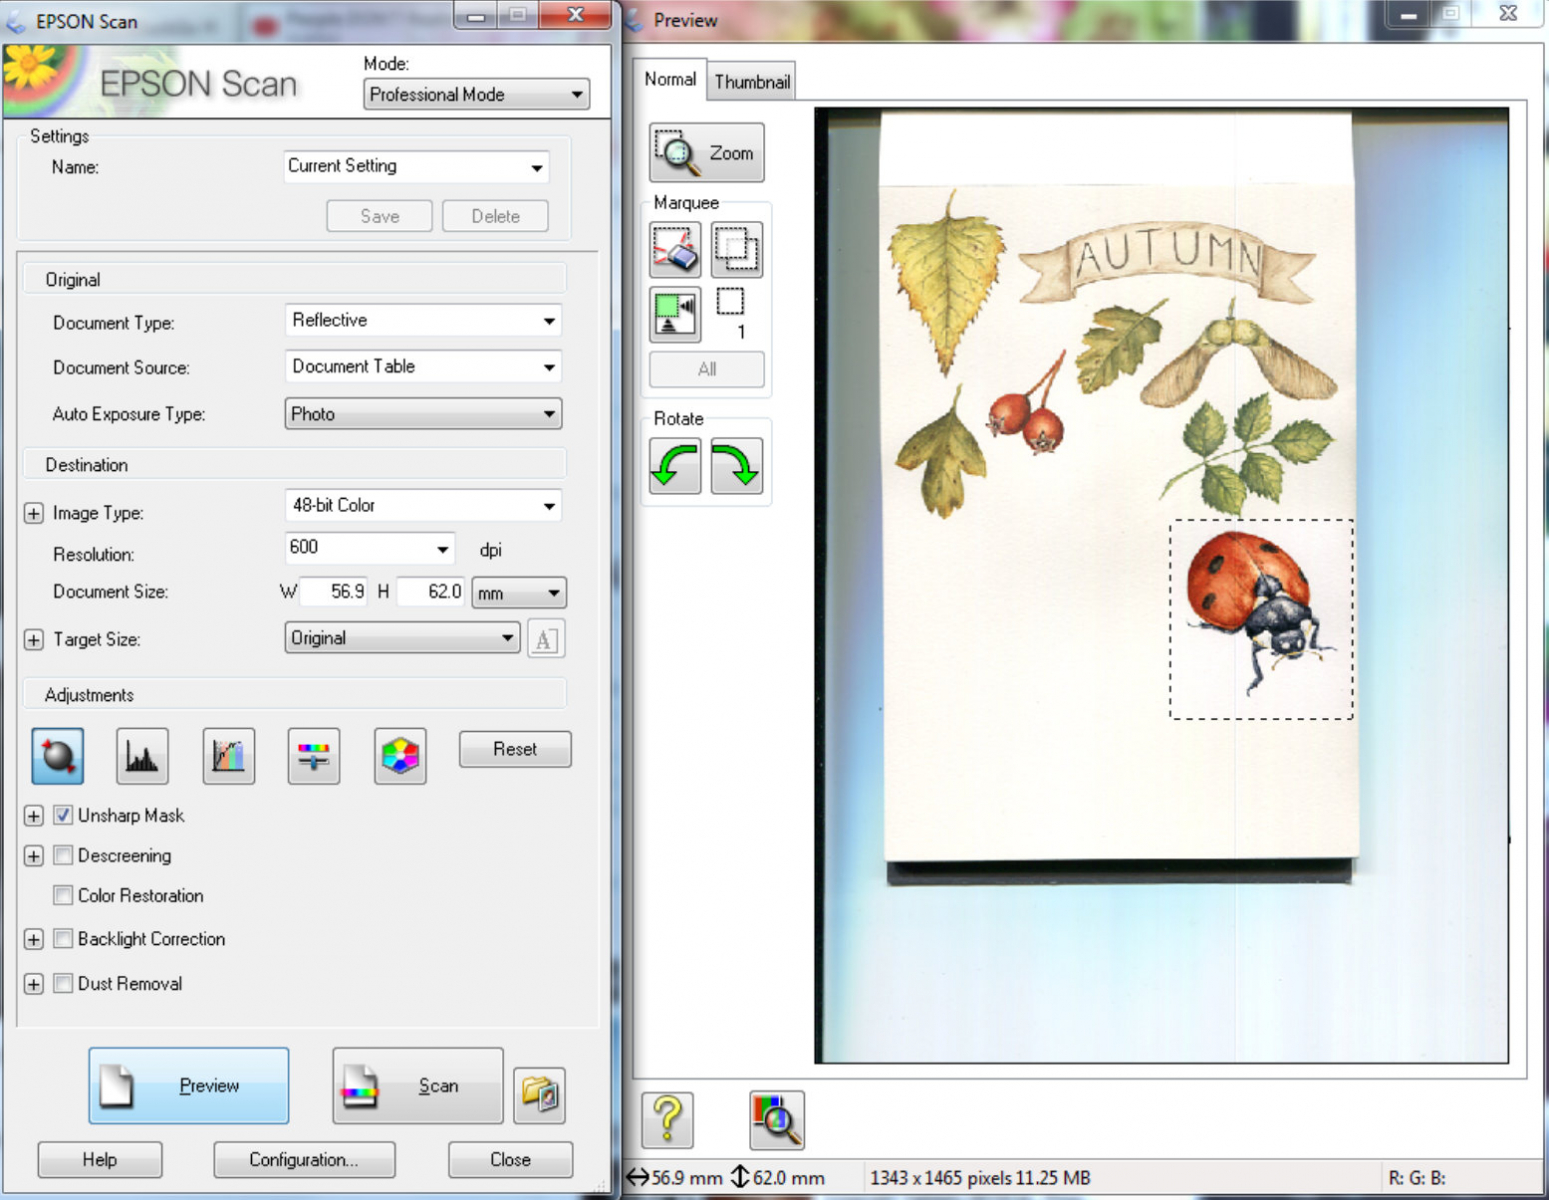
7. Editing
Editing can be done to either brighten/darken elements of an image or remove elements of it. I use Affinity Photo to edit out backgrounds as I like to be able to put my painted elements in different scenarios. First of all I drag the image into the open app, then draw a rectangle over the whole image. At the risk of getting too technical for most people, in the 'layers' tab on the right hand side I make the rectangle dark blue and place it behind my painted image. When I use the eraser tool, the erased line shows up as dark blue instead of white. It makes it much easier to erase around the image as I can see where I have rubbed out the background. I have discovered that cleaning up my images this way does a neater job than using one of the other tools, like the flood select tool.
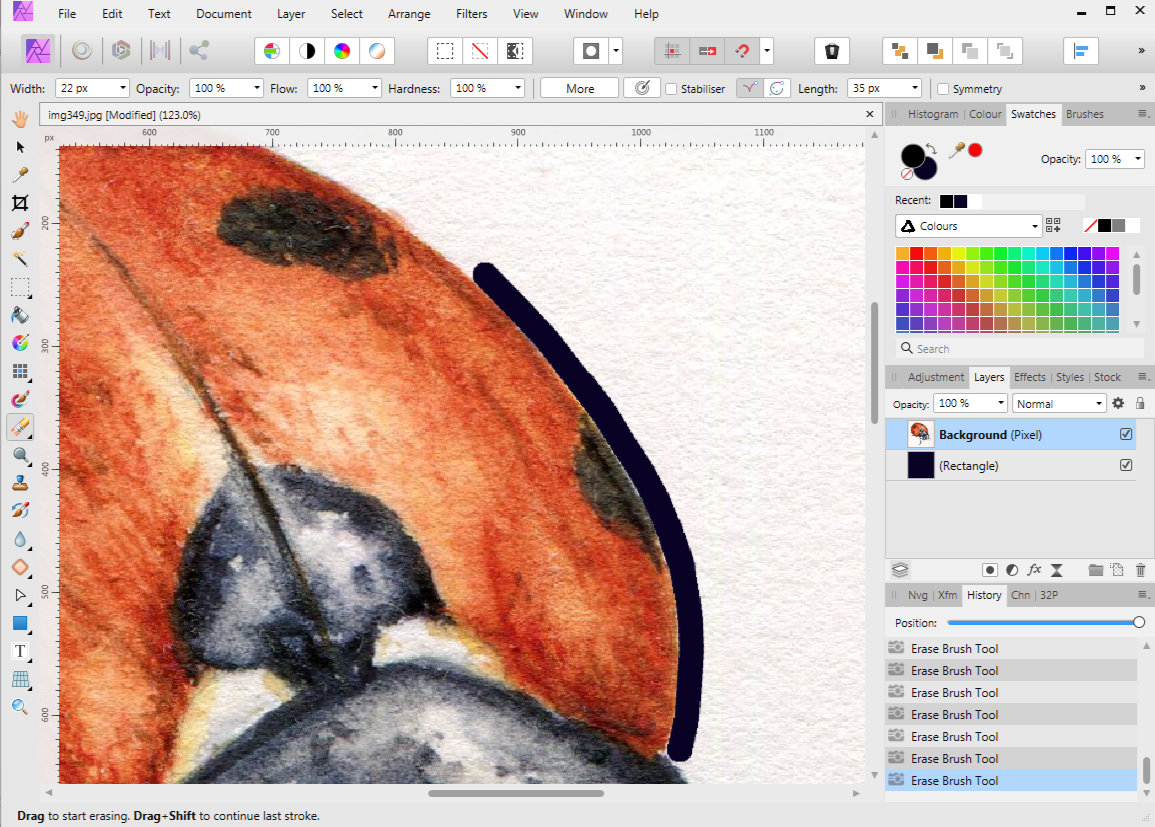
Once I have worked my way around the image I erase the rest of the white, delete the dark blue layer, crop the image to a suitable size (where there is as little unused space as possible) and save it as a PNG file. Then I can use the image as a element on its own or add it to other elements or paintings. And there we have it! I hope you found it interesting to see the work involved in producing an illustration.
